
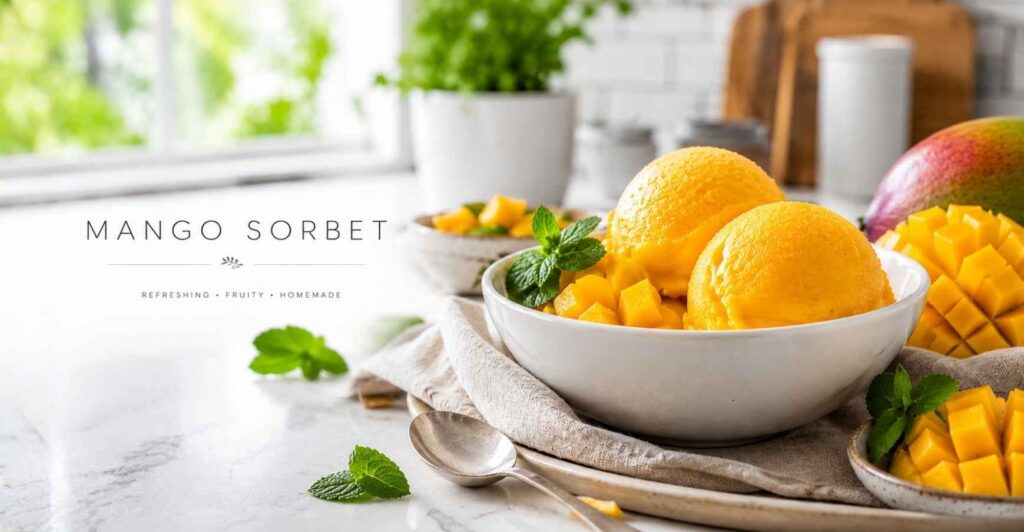
Introduction
There’s this thing that happens every May in my kitchen. The mangoes show up at the market — those golden Alphonsos or big juicy Kents — and I know exactly what I’m making first. Not a smoothie. Not a lassi. Mango sorbet.
I started making this probably six years ago when my daughter was going through a phase where she refused anything “with white stuff in it” (ice cream, yogurt, all of it). So I blended up some frozen mango with a little sugar and lime, froze it, and honestly? It was better than most things I’d paid $7 a pint for. That smooth, intensely fruity coldness — it hits different when you make it yourself and you know it’s just fruit.
This version is dead simple. Four ingredients, no ice cream maker, and it comes out silky and scoopable every single time. It tastes like summer in a bowl — bright, tart, sweet, and so cold it makes your teeth ache in the best way. Perfect for after-dinner treats, backyard hangs, or just standing at the freezer with a spoon at 10 PM. No judgment here.
Recipe Card
| Field | Value |
|---|---|
| Prep Time | 15 mins |
| Cook Time | 0 mins |
| Total Time | 4 hrs 15 mins (includes freezing) |
| Servings | 4 |
| Cuisine | International |
| Course | Dessert |
| Difficulty | Easy |
| Calories | ~150 kcal |
| Keywords | mango sorbet, homemade sorbet, no churn sorbet, dairy free dessert, frozen mango dessert |
Why You’ll Love This
- It’s literally four ingredients. Mango, sugar, lime, salt. That’s it. No cream, no eggs, no fuss.
- You don’t need an ice cream maker. A blender and a freezer-safe container are all you need. I’ve made this dozens of times without any special equipment.
- The texture is ridiculously smooth. One thing I’ve noticed is that blending it twice (once before freezing and once after) gives you that silky, sorbet-shop texture without any iciness.
- It’s naturally dairy-free and vegan. So if you’ve got guests with dietary restrictions, this covers a lot of bases without tasting like a “compromise dessert.”
- Kids absolutely demolish it. I usually make a double batch in summer because a single batch doesn’t survive the afternoon.
Ingredients
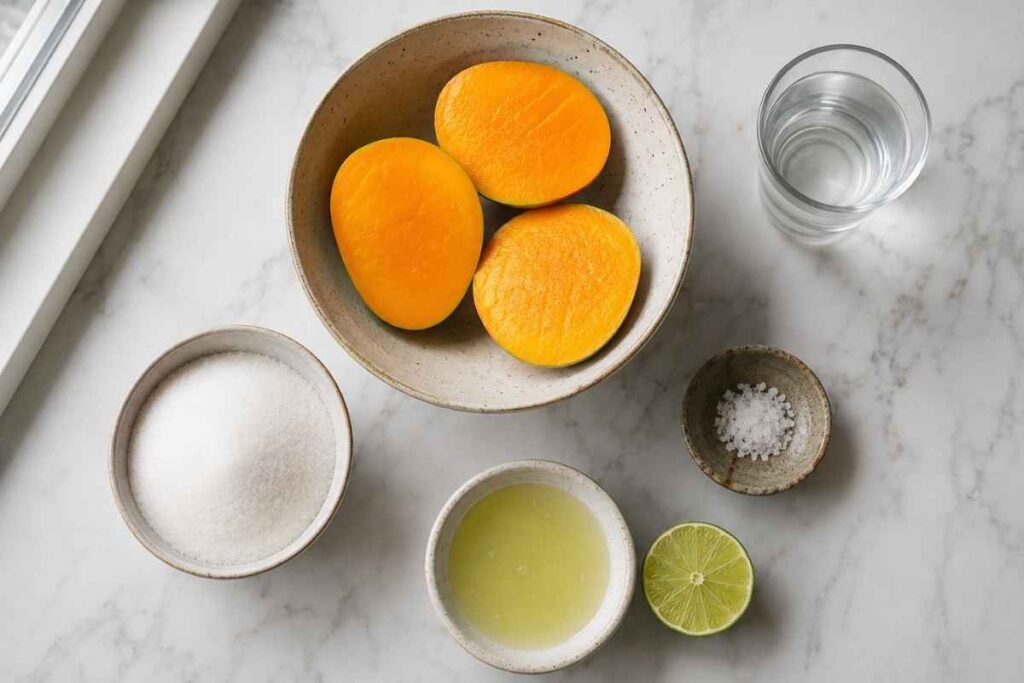
Main Ingredients
- 3 cups ripe mango chunks (about 3–4 large mangoes, or 1 lb / 450g frozen mango chunks)
- ⅓ cup granulated sugar (75g)
- 2 tablespoons fresh lime juice (about 1 lime)
- Pinch of fine sea salt
Optional Add-ins
- 1 tablespoon light rum or vodka (helps keep it scoopable)
- ½ teaspoon vanilla extract
- 1 tablespoon honey (instead of sugar, for a slightly different sweetness)
- Pinch of cardamom powder
For Garnish
- Fresh mint leaves
- Thin mango slices
- Toasted coconut flakes
- A light squeeze of lime
Ingredient Notes
Mangoes: This is the one thing that really matters here. Use the ripest mangoes you can find — they should smell sweet at the stem end and give slightly when you press them. Alphonso, Ataulfo (Honey), and Kent varieties work beautifully because they’re naturally creamy and fibrous-free. Tommy Atkins mangoes work but they’re a bit more fibrous, so you’ll want to strain the puree. Honestly, if fresh mangoes aren’t in season, frozen mango chunks are totally fine. I’ve used them many times and the result is almost identical. Just make sure they’re unsweetened.
Sugar: Regular granulated sugar dissolves best here since you’re making a quick simple syrup. You can swap in coconut sugar, but know that it’ll darken the color and add a mild caramel note. Don’t skip the sugar entirely — even with sweet mangoes, a little sugar is what gives the sorbet its smooth, scoopable texture instead of turning into a solid block.
Lime juice: Fresh only, please. Bottled lime juice has a flat, slightly metallic taste that you’ll absolutely notice in something this simple. One lime is usually enough.
Salt: Don’t skip this. It sounds weird in a dessert, but a tiny pinch makes the mango flavor about three times more vivid. You won’t taste “salt” — you’ll just taste more mango.
See Also : Creamy Homemade Salsa De Ajo Recipe
Equipment Needed
- High-speed blender or food processor
- Small saucepan (for the simple syrup)
- Freezer-safe container with lid (a loaf pan works great)
- Plastic wrap or parchment paper (to press against the surface)
- Ice cream scoop or sturdy spoon
Step-by-Step Instructions
Step 1: Make the simple syrup (5 minutes) Combine ⅓ cup sugar with ⅓ cup water in a small saucepan over medium heat. Stir gently until the sugar fully dissolves — you’ll see the liquid go from cloudy to completely clear, about 2–3 minutes. Don’t let it boil. Once it’s clear, take it off the heat and let it cool to room temperature. I usually just set it by the window for 10 minutes.
Beginner tip: You can speed up the cooling by setting the saucepan in a shallow bowl of ice water. Just don’t skip the cooling — adding hot syrup to the mango will cook it slightly and change the fresh flavor.
Step 2: Prep the mangoes (10 minutes) Peel and cut your mangoes into rough chunks, about 1-inch pieces. You’re looking for about 3 cups total. If using frozen mango, let it thaw for about 10 minutes — you want it still cold but not rock-hard, so your blender can handle it. The mango should smell fragrant and sweet, almost floral.
Step 3: Blend everything together (3 minutes) Add the mango chunks, cooled simple syrup, lime juice, and salt to your blender. Blend on high until completely smooth — this takes about 60–90 seconds in a good blender. Scrape down the sides once halfway through. The puree should be thick, velvety, and a gorgeous deep golden-orange. Taste it. It should taste slightly sweeter than you want the final sorbet to be, because freezing dulls sweetness.
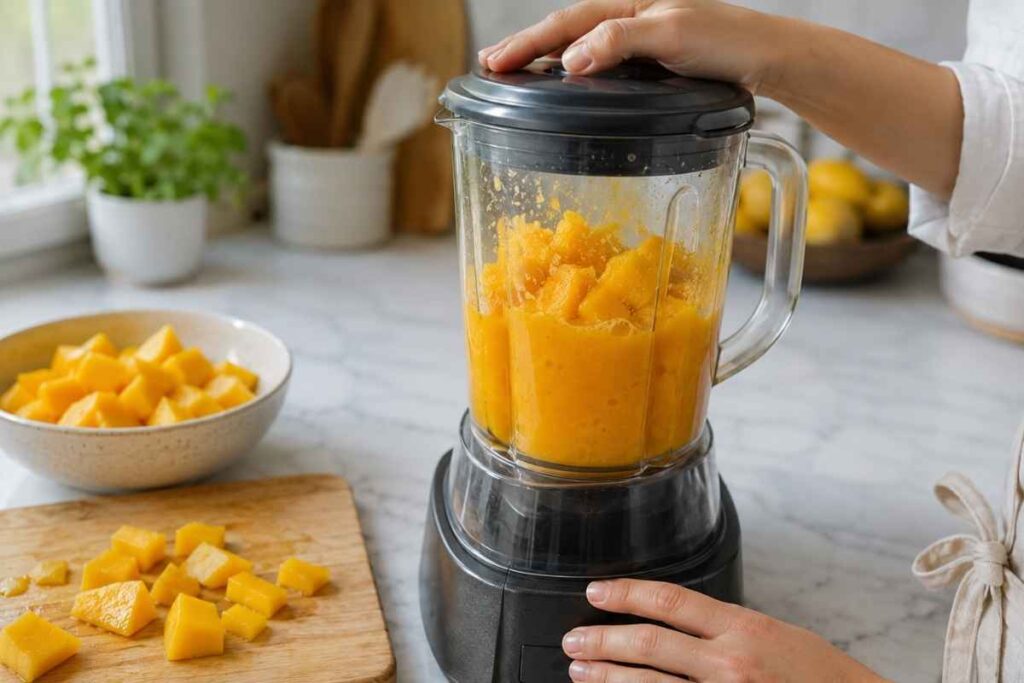
Beginner tip: If your mangoes were fibrous, pour the puree through a fine-mesh strainer and press it through with a spoon. Takes an extra minute but makes a huge difference in texture.
Step 4: First freeze (2 hours) Pour the puree into a freezer-safe container. Press a piece of plastic wrap or parchment directly onto the surface of the puree — this prevents ice crystals from forming on top. Cover with a lid and freeze for about 2 hours, until the edges are frozen solid but the center is still slushy.
Step 5: Break it up and blend again (5 minutes) This is the step that makes all the difference. Pull the container out, break the frozen mixture into chunks with a fork, and dump everything back into the blender. Blend again until smooth and creamy — it’ll look like soft-serve at this point, thick and fluffy. This second blend breaks up any ice crystals and incorporates air, which is what gives you that smooth sorbet texture instead of a flavored ice block.
Step 6: Final freeze (2+ hours) Pour it back into the container, press plastic wrap on the surface again, cover, and freeze until firm — at least 2 hours, or overnight. When it’s done, the surface should be smooth and the sorbet should scoop cleanly with a bit of pressure.
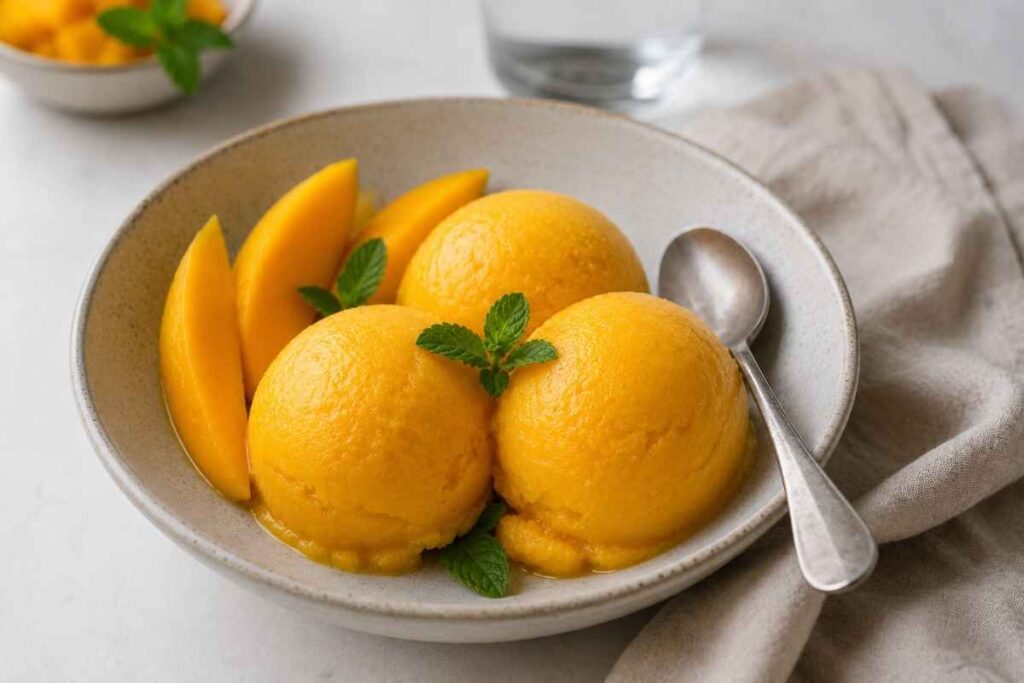
Step 7: Scoop and serve Let the sorbet sit on the counter for 5–8 minutes before scooping. It should yield to an ice cream scoop without being rock-hard. Scoop into bowls, garnish with a mint leaf and a thin slice of fresh mango, and eat immediately. The best part is that first bite — intensely cold, pure mango, just slightly tart from the lime.
See Also :
Common Mistakes
- Using unripe mangoes. This is the #1 mistake I see. If your mangoes are hard, pale, or don’t smell like anything, your sorbet will taste bland and slightly bitter. Wait until they’re soft and fragrant, or use frozen.
- Skipping the second blend. I know it’s tempting to just freeze it once and call it done. But that second blend after the initial freeze is what turns this from “icy mango chunk” into actual smooth sorbet. Don’t skip it.
- Not pressing plastic wrap on the surface. Air exposure = ice crystals. And ice crystals = grainy sorbet. Take the extra 10 seconds to press wrap directly onto the puree before each freeze.
- Scooping straight from the freezer. Sorbet freezes harder than ice cream because there’s no fat to keep it soft. Give it 5–8 minutes on the counter. If you try to scoop it frozen solid, you’ll either bend your spoon or get shards instead of scoops.
Pro Tips
- Add a tablespoon of vodka or rum to the puree before freezing. Alcohol doesn’t freeze, so it keeps the sorbet slightly softer and more scoopable straight from the freezer. You won’t taste it at all.
- Freeze your container beforehand. A cold container means the puree starts freezing faster and more evenly. I usually pop mine in the freezer while I’m making the syrup.
- Use a loaf pan for freezing. The shallow depth means faster, more even freezing — and easier scooping later.
- Taste the puree before freezing and adjust. Freezing mutes sweetness by about 20–30%, so if it doesn’t taste a little too sweet as a liquid, it’ll taste flat once frozen. Add a bit more sugar or lime to get it right.
- For the smoothest texture, you can do the freeze-and-blend cycle twice (freeze, blend, freeze, blend, final freeze). Honestly, one cycle is fine for most people, but if you’re particular about texture, the extra round makes it incredibly silky.
Variations
- Spicier version: Add ¼ teaspoon of cayenne pepper or a small piece of fresh ginger (about 1 inch, peeled) to the blender. The mango-chili combo is incredible — sweet, cold, then a slow burn. I usually do this version for adults-only dinners.
- Kid-friendly version: Swap the lime juice for orange juice and add a splash of vanilla extract. It mellows out the tartness and makes it taste almost like a creamsicle. My kids prefer this one every time.
- Healthier swap: Replace the sugar with 2–3 tablespoons of raw honey or maple syrup. You can also use very ripe mangoes and skip the sweetener entirely — it’ll be less scoopable but still delicious eaten slightly thawed.
- Vegan/Coconut version: Add ¼ cup of full-fat coconut cream to the blender. This makes it richer and slightly creamier, almost like a sherbet. Top with toasted coconut flakes for the full tropical thing.
Serving Suggestions
Serve it in: Chilled ceramic bowls or small glass cups. Something about clear glass really shows off that gorgeous golden color.
Pair it with: A simple butter cookie, a slice of pound cake, or fresh berries on the side. For drinks, a cup of jasmine tea or a sparkling water with lime complements it beautifully without competing.
Presentation tip: Run your ice cream scoop under hot water before each scoop for those smooth, round balls. A single mint leaf and a thin fan of fresh mango slices on top makes it look like something from a dessert menu. Takes 30 seconds, looks stunning.
For a dinner party: Serve small scoops in between courses as a palate cleanser. Very classic, very elegant, zero effort.
Storage & Reheating
- Fridge: The unfrozen puree can sit in the fridge for up to 2 days before freezing. Give it a good stir before you proceed.
- Freezer: The finished sorbet keeps well for up to 2 weeks in an airtight container with plastic wrap pressed on the surface. After that, it starts to develop ice crystals and lose flavor. It’s still safe to eat, just not as good.
- Serving after storage: Let it sit at room temperature for 5–10 minutes before scooping. If it’s been in the freezer a while and gotten too hard, you can microwave it in 10-second bursts (seriously, just 10 seconds) or re-blend it to restore that smooth texture.
Nutrition Info (Per Serving)
| Nutrient | Amount |
|---|---|
| Calories | ~150 kcal |
| Carbohydrates | 38g |
| Protein | 1g |
| Fat | 0.5g |
| Fiber | 2g |
| Sugar | 34g |
| Sodium | 40mg |
Values are approximate and based on using fresh Ataulfo mangoes and granulated sugar.
FAQs
Q: Can I make this without a blender? A: You can use a food processor — it works just as well, maybe even better for the second blend since it handles frozen chunks more easily. A hand blender/immersion blender can work in a pinch, but you’ll need to thaw the mixture more before the second blend so it can actually process.
Q: Do I need an ice cream maker? A: Nope. The whole point of this recipe is that you don’t need one. The freeze-blend-freeze method gives you smooth, scoopable sorbet with just a regular blender and a freezer. If you do have an ice cream maker, though, just churn the puree according to your machine’s instructions — it’ll be done in about 25 minutes.
Q: Can I use canned mango pulp? A: You can, and it saves a lot of prep time. Just make sure it’s unsweetened (brands like Kesar or Ratna are good). If it’s already sweetened, reduce or skip the sugar in the recipe. The flavor won’t be quite as bright as fresh, but it’s honestly pretty close.
Q: Why is my sorbet icy and not smooth? A: Usually one of three things: you skipped the second blend, you didn’t press plastic wrap on the surface, or the sugar ratio was too low. Sugar acts as an anti-freeze in sorbet — it’s not just for sweetness, it controls the texture. Try adding a tiny bit more next time.
Q: How long does this take from start to finish? A: Active time is about 15–20 minutes. The rest is just waiting for it to freeze. If you start in the morning, you’ll have perfect sorbet by afternoon. If you start after dinner, it’ll be ready by the next day.
Q: Can I make this with other fruits? A: Absolutely. This same method works beautifully with peaches, strawberries, raspberries, or passion fruit. The ratio of fruit to sugar might need slight adjusting — berries tend to be more tart and need a bit more sugar, while peaches might need less.
Q: Is this the same as mango ice cream? A: No — sorbet has no dairy at all. It’s lighter, more intensely fruity, and has a cleaner finish. Ice cream is richer and creamier. I love both, but sorbet lets the mango really be the star.
Q: Can I add other fruits to this? A: I usually keep it pure mango, but mango-pineapple and mango-passion fruit are both incredible combos. Just keep the total fruit volume around 3 cups and adjust the lime and sugar to taste.
Final Thoughts
Honestly, this is one of those recipes I come back to every single summer without even thinking about it. It’s the kind of thing that feels like it should be harder than it is — like, how can four ingredients and a blender make something this good? But it does. Every time.
I love that you can riff on it, too. Some nights I make it plain and simple. Other times I throw in some chili flakes or a splash of rum. It’s the kind of recipe that’s hard to mess up and easy to make your own.
If you give this a try, I’d genuinely love to hear how it turns out. Tag me, leave a comment, send me a photo of your scoops. There’s something really satisfying about seeing someone else’s version of a recipe you love. Happy scooping. 🥭