
Introduction
I first tried the gelatin trick almost three years ago, right after my neighbor casually mentioned she’d been making these little gelatin cups every evening instead of reaching for ice cream. I remember thinking, gelatin? Really? But I gave it a shot that same week, and honestly, I haven’t stopped since.
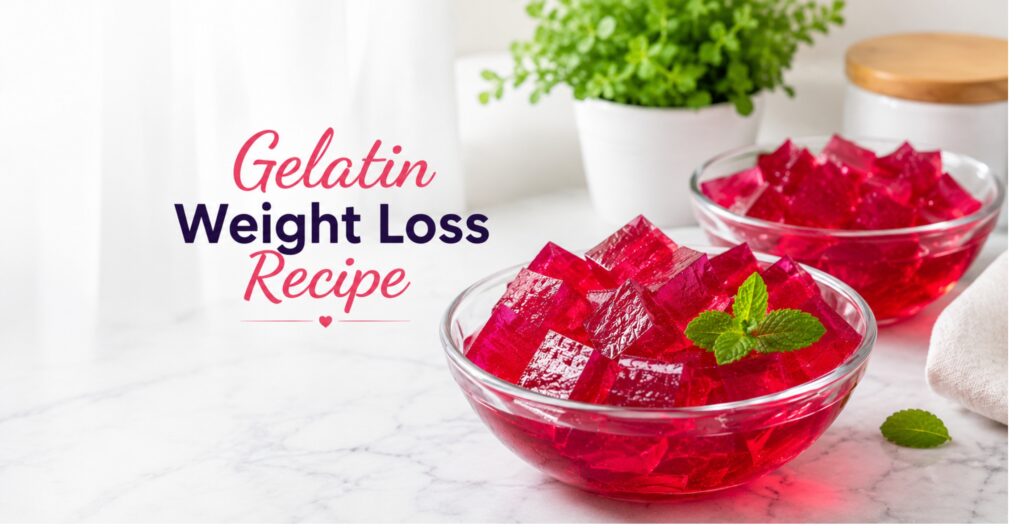
This gelatin weight loss recipe is one of the simplest things I make in my kitchen. Three ingredients, about five minutes of actual work, and you end up with a wobbly, slightly sweet snack that genuinely helps curb late-night cravings. It’s not magic. It’s not going to replace proper meals. But it fills that gap between dinner and bedtime where I used to demolish a sleeve of crackers without thinking.
What I love most about this version is that it actually tastes good. Lightly fruity, cool, and satisfying in a way that plain water or tea just isn’t. The texture is smooth and jiggly, almost like a fancy panna cotta but with a fraction of the calories. Whether you’re following a bariatric plan or just trying to eat a little smarter, this one’s worth trying.
Recipe Card
| Field | Value |
|---|---|
| Prep Time | 5 mins |
| Cook Time | 0 mins |
| Total Time | 5 mins (+ 2 to 4 hours setting time) |
| Servings | 4 |
| Cuisine | American |
| Course | Snack |
| Difficulty | Easy |
| Calories | ~25 kcal per serving |
| Keywords | gelatin weight loss recipe, gelatin trick recipe, bariatric gelatin recipe, gelatin weight loss, 3 ingredient gelatin trick |
Why You’ll Love This
- Ridiculously easy. You literally stir three things together and let the fridge do the rest. No baking, no cooking, no mess.
- Almost zero calories. Each serving comes in around 25 calories, which means you can have a satisfying snack without blowing your day.
- High in protein for what it is. Gelatin is mostly collagen protein, so you’re getting about 6 grams of protein per serving from something that feels like dessert.
- Genuinely helps with cravings. The protein and volume combination keeps you feeling full longer than you’d expect from something this light.
- Endlessly customizable. Change the flavor, add fruit, stir in some yogurt. It’s a blank canvas that works with whatever you’re in the mood for.
Ingredients
Main Ingredients
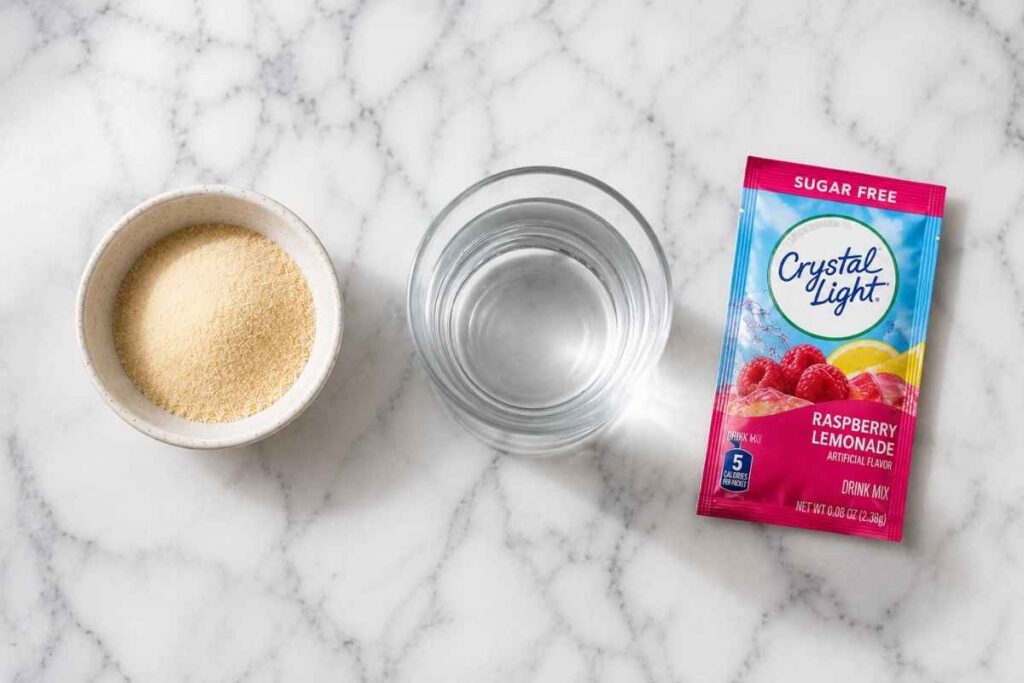
- 1 packet (about 1 tablespoon, 7g) unflavored gelatin powder (like Knox)
- 1 cup (240 ml) water, divided into ½ cup cold and ½ cup boiling
- 1 packet (about 0.5g) sugar-free flavored drink mix (like Crystal Light, any flavor you like)
Optional Add-ins
- ½ cup fresh or frozen berries (blueberries, raspberries, or sliced strawberries)
- 1 tablespoon fresh lemon or lime juice
- 1 teaspoon vanilla extract
- A small pinch of sea salt (enhances sweetness)
- 1 scoop collagen peptides (for extra protein boost)
- 1 tablespoon sugar-free syrup (like Torani or Jordan’s Skinny Syrups)
For Garnish
- Fresh mint leaves
- A few fresh berries on top
- A light dollop of sugar-free whipped cream
- A thin slice of lemon or lime
Ingredient Notes
Unflavored gelatin is the star here, and not all brands are equal. I usually reach for Knox because it’s widely available and dissolves cleanly without clumping. If you can find grass-fed gelatin (like Great Lakes or Vital Proteins), even better because it tends to have a slightly cleaner taste and a smoother set. One thing I’ve noticed is that store-brand unflavored gelatin works perfectly fine too, so don’t feel like you need to spend extra.
For the sugar-free drink mix, Crystal Light is my go-to because the flavors are strong enough to carry the whole recipe. Lemonade and raspberry lemonade are my favorites. You could also use a sugar-free Jell-O packet instead, but keep in mind that Jell-O already contains some gelatin, so the texture will be firmer. If you go that route, reduce the unflavored gelatin to about half a packet.
What NOT to substitute: Don’t try to swap unflavored gelatin for agar-agar in this exact recipe without adjusting ratios. Agar sets differently, firmer and more brittle, and the proportions here are calibrated for gelatin. I’ll cover a vegan option in the variations section below.
Fresh fruit is optional but honestly makes the whole thing feel more like a real dessert. Frozen berries work just as well. They’ll thaw as the gelatin sets and create these nice little pockets of fruit throughout.
Equipment Needed
- Small saucepan or microwave-safe bowl (for boiling water)
- Mixing bowl or large measuring cup with a pour spout
- Whisk or fork
- 4 small ramekins, cups, or a shallow dish
- Measuring cups and spoons
Step-by-Step Instructions
Step 1: Bloom the Gelatin
Pour ½ cup of cold water into your mixing bowl. Sprinkle the unflavored gelatin powder evenly over the surface of the cold water. Don’t dump it in a pile, just scatter it. Let it sit for about 2 minutes. You’ll see it absorb the water and turn into a soft, wrinkly, slightly spongy layer. That’s called “blooming” and it’s what keeps you from getting lumps later.
Beginner tip: If you skip blooming and dump gelatin into hot water directly, you’ll end up with rubbery clumps that never fully dissolve. Those two minutes of patience are non-negotiable.
Step 2: Add Boiling Water
Boil ½ cup of water (microwave works fine, about 90 seconds). Pour the boiling water directly over the bloomed gelatin. Stir continuously for about 1 to 2 minutes until the gelatin is completely dissolved. The liquid should look totally clear with no visible granules. Hold the bowl up to the light. If you see any specks floating around, keep stirring.
See Also : Mango Sorbet Easy Homemade Recipe
Step 3: Mix in the Flavor
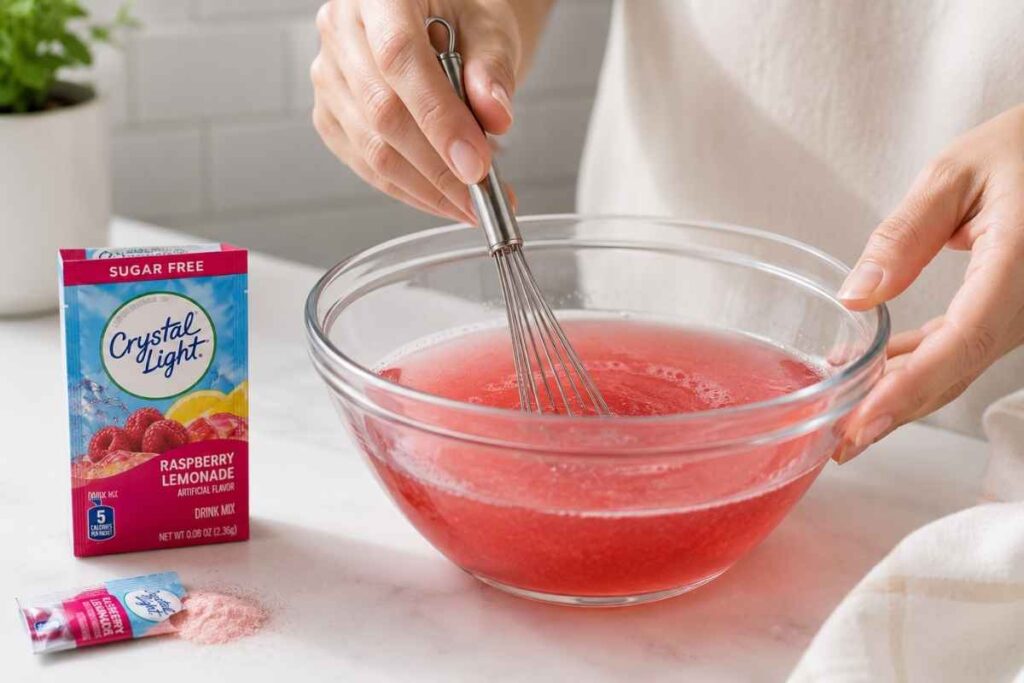
Add the sugar-free drink mix packet to the warm gelatin liquid. Stir until it’s fully dissolved, about 30 seconds. The mixture will turn whatever color your drink mix is. Mine usually ends up a pretty pale pink or golden yellow. Give it a taste. If it’s not sweet enough for you, this is the time to add a splash of sugar-free syrup or a tiny pinch of salt to round out the sweetness.
Step 4: Add Fruit (Optional)
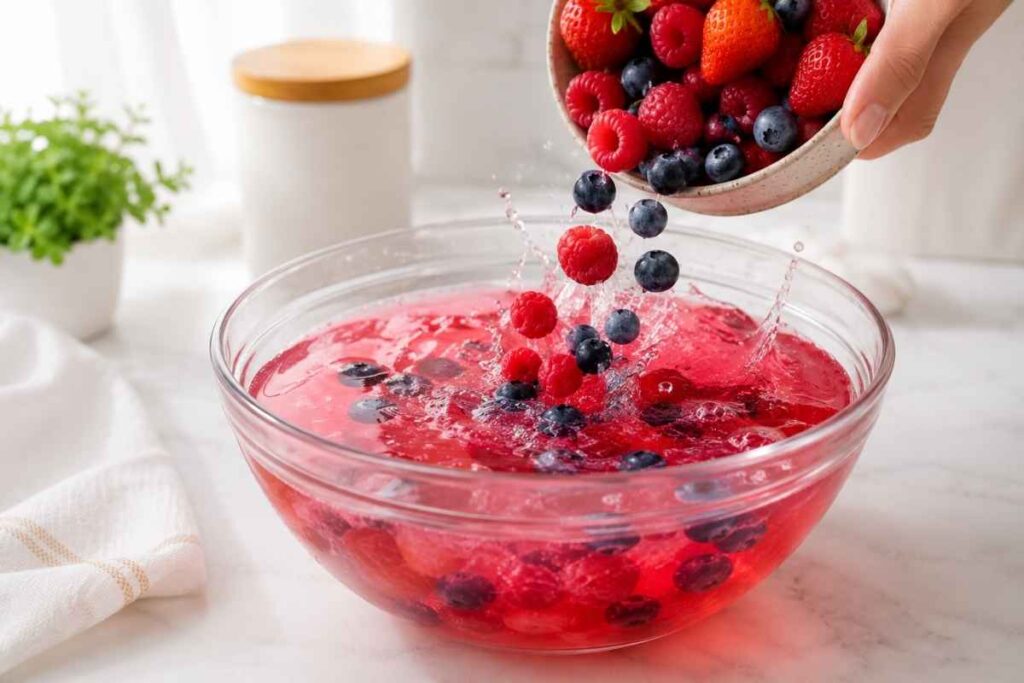
If you’re adding berries or other fruit, now’s the time. Drop them into the liquid and give it a gentle stir to distribute them evenly. Fresh or frozen both work. Frozen berries will speed up the setting process slightly, which is actually a bonus. I usually go with about ½ cup of mixed berries for four servings.
Step 5: Pour and Refrigerate
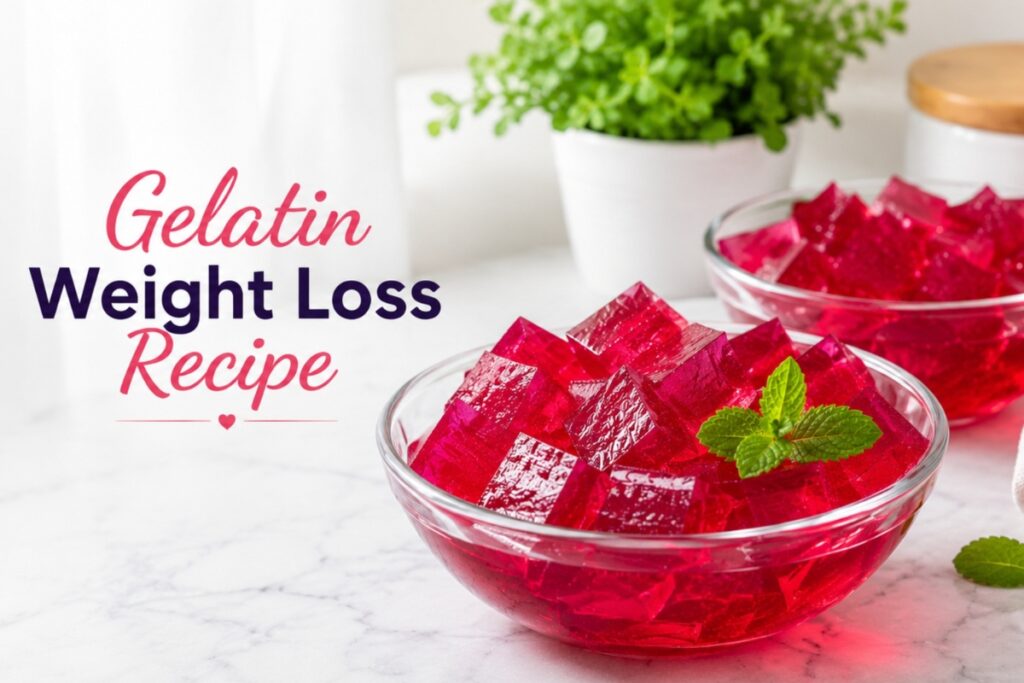
Divide the mixture evenly among 4 small ramekins or cups. You can also pour it into one shallow dish and cut it into cubes later — that’s actually how I do it most of the time because it’s faster. Cover with plastic wrap or lids and refrigerate for at least 2 hours, though 3 to 4 hours gives you the best, firmest set. I usually make mine after dinner and they’re ready by bedtime.
Beginner tip: Don’t put the gelatin in the freezer to speed things up. It can get icy and weird on the outside while staying liquid in the center.
Step 6: Serve and Enjoy
Once set, the gelatin should be firm but jiggly when you tap the side of the cup. Unmold by running a thin knife around the edge and inverting onto a small plate, or just eat it straight from the cup (that’s what I do most nights). Top with a sprig of mint, a few extra berries, or a small swirl of sugar-free whipped cream if you’re feeling fancy.
Common Mistakes
- Not blooming the gelatin first. This is the number one mistake I see. If you skip blooming and toss dry gelatin into hot water, it clumps into chewy little balls that won’t dissolve no matter how hard you stir. Always sprinkle it over cold water first and wait those two minutes.
- Using boiling water that’s too hot, or not hot enough. You want water that’s just come to a boil. If it’s only warm, the gelatin won’t fully dissolve. If you’ve boiled it and let it sit for ten minutes, it may have cooled too much. Freshly boiled is the sweet spot.
- Adding fruit that contains bromelain or papain. Fresh pineapple, kiwi, papaya, and mango contain enzymes that break down gelatin and prevent it from setting. If you want tropical fruit, use canned (the canning process deactivates the enzymes) or cook the fruit first.
- Not giving it enough time in the fridge. Two hours is the minimum. I’ve pulled mine out at the 90-minute mark before and it was still sloshy in the center. If it’s a hot day or your fridge runs warm, give it a full 4 hours.
Pro Tips
- Make a big batch on Sunday. I usually quadruple the recipe, pour it into a 9×13 pan, let it set, and cut it into cubes. I keep them in a container in the fridge and grab a few whenever I need a snack. They last all week.
- Layer two flavors. Pour one flavor, let it set for about an hour until it’s mostly firm, then pour a second flavor on top. You get a pretty two-tone effect that looks way fancier than the effort involved.
- Add a scoop of collagen peptides at Step 2 for an extra 10g of protein per serving. Collagen peptides dissolve in hot liquid without affecting the texture, unlike whey protein which can make gelatin foamy or grainy.
- Use herbal tea instead of plain water. Brew a strong cup of chamomile, peppermint, or hibiscus tea, and use that as your hot liquid. Hibiscus gives you a gorgeous deep red color and a slightly tart flavor that’s really nice.
- Spray your molds lightly with cooking spray before pouring if you want clean unmolding. A very light mist is all you need — too much and you’ll taste it.
See more : Tiramisu Cake Recipe
Variations
Spicier Version
Add a pinch of cayenne pepper or a few drops of hot sauce to the mixture at Step 3. It sounds strange, but spicy-sweet gelatin is genuinely addictive. It’s like a spicy candy without the sugar. Start with just a tiny pinch and work your way up.
Kid-Friendly Version
Use a flavored sugar-free Jell-O packet instead of unflavored gelatin + drink mix. Pour into fun silicone molds (bears, stars, dinosaurs). My niece calls them “gummy bears from the fridge” and I’ve never corrected her.
Healthier / Higher-Protein Swap
Replace the sugar-free drink mix with 1 scoop of collagen peptides and 1 tablespoon of fresh lemon juice. Skip the artificial sweetener entirely or add a few drops of liquid stevia. This gives you a clean-ingredient version with about 16g of protein per serving.
Vegan Option
Gelatin is not vegan — it’s derived from animal collagen (more on that in the FAQs). For a vegan version, substitute the unflavored gelatin with 1 teaspoon of agar-agar powder. Use the same amount of liquid, but you’ll need to bring the agar mixture to a simmer for 2–3 minutes to activate it. The texture will be slightly firmer and less jiggly, more like a firm panna cotta than a wobbly Jell-O cup. Still good, just different.
Serving Suggestions
- As an evening snack: This is how I eat it 90% of the time. A cup or two after dinner when I want something sweet but don’t want to undo my whole day.
- As a post-workout protein snack: Especially if you add collagen peptides. It’s light, hydrating, and easy on the stomach.
- With a cup of herbal tea: Chamomile or peppermint tea alongside a gelatin cup is a really soothing end to the day.
- Cubed and tossed into yogurt: Cut the set gelatin into small cubes and stir them into Greek yogurt with a drizzle of honey. It adds a fun texture.
- Presentation tip: Serve in clear glass cups so the color and any suspended fruit are visible. A sprig of fresh mint on top goes a long way.
Storage & Reheating
- Fridge: Store covered gelatin cups or cubes in an airtight container in the refrigerator for up to 5 days. They actually get a little firmer over time, which I personally prefer.
- Freezer: I don’t recommend freezing. Gelatin breaks down when frozen and thawed. It becomes watery, grainy, and loses that smooth jiggly texture entirely.
- Reheat: You generally won’t reheat this since it’s served cold. If your gelatin hasn’t set properly, you can gently warm it (microwave in 15-second bursts, stirring between) to re-melt it, then refrigerate again. It will reset just fine.
Nutrition Info (Per Serving — Makes 4)
| Nutrient | Amount |
|---|---|
| Calories | ~25 kcal |
| Carbohydrates | 0g |
| Protein | 6g |
| Fat | 0g |
| Fiber | 0g |
| Sugar | 0g |
| Sodium | ~15mg |
Nutrition values are approximate and based on the base recipe without optional add-ins. Adding fruit, collagen, or sweeteners will change these numbers slightly.
FAQs
Q: What is gelatin made of? A: Gelatin is made from animal collagen. Specifically, it comes from the skin, bones, and connective tissues of cows or pigs. The raw materials are processed, cleaned, and dried into the powder or sheets you buy at the store. It’s essentially cooked-down collagen. This is why gelatin is high in protein and why it’s been connected to benefits like joint health and improved skin elasticity.
Q: What are the 3 ingredients in the gelatin trick? A: The three ingredients are unflavored gelatin powder, water, and a sugar-free flavored drink mix (like Crystal Light). That’s it. You bloom the gelatin in cold water, dissolve it in hot water, stir in the drink mix, and refrigerate. Some people swap the drink mix for sugar-free Jell-O, but the core idea is the same. Protein-rich, nearly zero-calorie, satisfying snack.
Q: What is the gelatin trick for weight loss? A: The gelatin trick is a simple strategy where you make a low-calorie, high-protein gelatin snack to eat between meals or in the evening when cravings hit. The idea is that the protein in gelatin helps you feel full, the volume fills your stomach, and the whole thing costs you only about 25 calories. It’s not a miracle cure. It’s just a smarter swap for higher-calorie snacks.
Q: Is gelatin vegan? A: No, gelatin is not vegan. It’s an animal-derived product made from collagen found in animal bones and skin. If you follow a vegan diet, you can use agar-agar as a substitute. Agar comes from seaweed and sets similarly to gelatin, though the texture is firmer and less jiggly.
Q: Is gelatin good for you? A: Gelatin has some genuine benefits. It’s high in protein (especially glycine and proline), which may support joint health, gut lining repair, and skin elasticity. It’s also very low in calories. That said, it’s not a complete protein because it’s missing tryptophan, so it shouldn’t be your only protein source. Think of it as a helpful supplement, not a meal replacement.
Q: Is gelatin made from pork? A: It can be. Most commercial gelatin in the US (like Knox) is derived from pork skin. However, you can find beef-derived (bovine) gelatin and even fish gelatin if you need a halal or kosher option. Check the packaging because it usually specifies the source. Brands like Great Lakes and Vital Proteins use bovine (cow) sources.
Q: Do Sour Patch Kids have gelatin? A: Interestingly, no. Sour Patch Kids do not contain gelatin. They use modified corn starch as a gelling agent instead. However, many other gummy candies (like traditional gummy bears, Swedish Fish in some markets, and most marshmallows) do contain gelatin.
Q: Do Skittles have gelatin? A: In the US, Skittles removed gelatin from their recipe back in 2009. So current US Skittles are gelatin-free. However, formulations can vary by country, so it’s always worth checking the ingredients list if you’re buying them outside the US.
See Also : Chimichurri Sauce Recipe
Final Thoughts
Honestly, this gelatin weight loss recipe is one of those things that sounds too simple to actually work, and then it does. I’ve been making some version of this for almost three years now, and it’s become one of those background habits that just quietly makes my evenings easier. No more standing in front of the pantry at 9 PM trying to negotiate with myself about chips.
It’s not a diet. It’s not a cleanse. It’s just a smart little snack that happens to be almost calorie-free and takes five minutes to make.
If you try it, start with whatever flavor sounds good to you and don’t overthink it. And if you come up with a combination I haven’t tried, I’d genuinely love to hear about it. Drop a comment below or tag me if you post it. The weirder the flavor combo, the better.